5027 S Commerce Dr
Murray, UT 84107

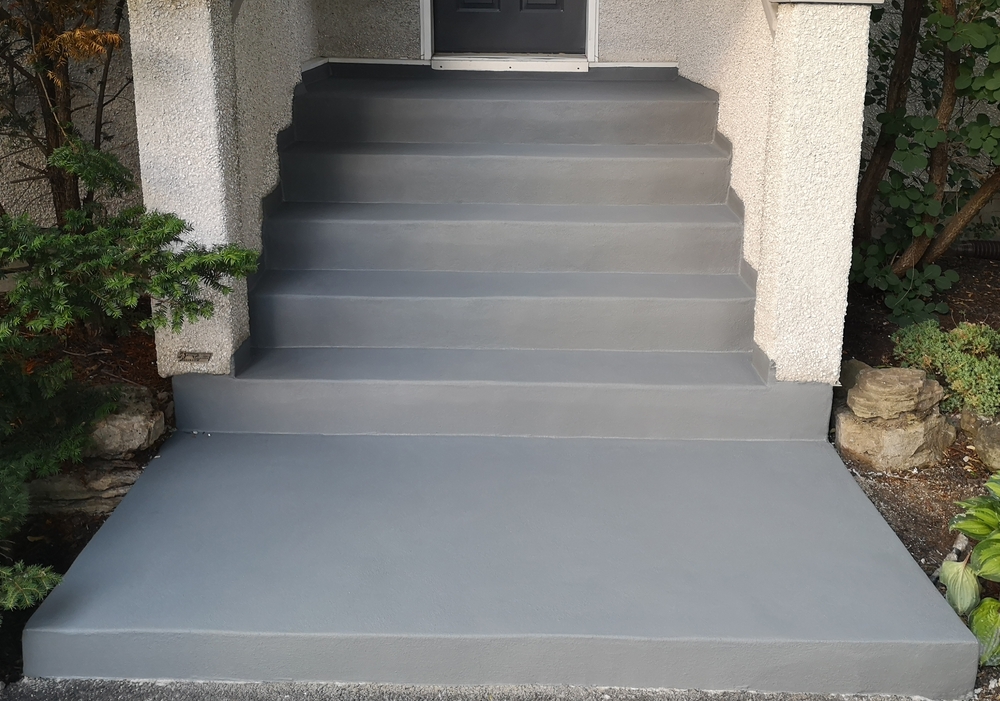
Have you been staring at that dull, cracked concrete on your driveway, patio, or garage floor, wondering if it’s time for a makeover? Luckily, you don’t have to spend a fortune hiring professionals. With a bit of time, effort, and the right tools, DIY concrete resurfacing can breathe new life into your concrete surfaces. This guide, brought to you by Intermountain Coatings in Murray, UT, will walk you through the steps to achieve a professional-looking finish on your own.
Concrete surfaces take a beating from foot traffic and car weight, to exposure to harsh weather conditions. Over time, cracks, discoloration, and wear-and-tear set in, making the space look outdated and dilapidated. Resurfacing not only improves the aesthetics but also strengthens the surface and adds years to its lifespan. Best of all, tackling it yourself can save you a significant amount of money while giving you the satisfaction of a job well done.
Benefits of DIY concrete resurfacing:
Before you begin, make sure you have all the necessary materials and tools to resurface your concrete efficiently.
Preparation is key to a successful resurfacing project. Without a properly prepped surface, the new layer of concrete won’t adhere correctly.
Start by using a power washer to thoroughly clean the surface. Remove dirt, grease, oil stains, and loose debris. If there are stubborn stains, apply a concrete cleaner or degreaser, scrub with a stiff brush, and rinse thoroughly.
Cracks or holes in the existing concrete must be filled before resurfacing. Use a concrete repair mix to patch up these areas, following the instructions on the product. Allow enough drying time (usually 24 hours).
Use painter’s tape to protect walls, doors, or any adjoining surfaces from accidental spills or splashes during resurfacing.
The next step is to prepare your resurfacer mix. Follow the manufacturer’s guidelines closely, as the wrong ratio can compromise the effectiveness of the product.
Now comes the fun part! Spread the resurfacer in thin, even layers over the prepared surface.
Don’t worry too much about minor imperfections at this stage; they can usually be smoothed out during the next step.
While the resurfacer is still wet, add your desired finishes. Whether you want texture, patterns, or color, now is the time to apply them.
Proper curing ensures the durability and longevity of your resurfaced concrete.
For added protection, seal the surface with a concrete sealer once it has fully cured. This step locks in the finish, enhances the appearance, and defends against future wear.
Resurfacing your concrete doesn’t have to be an intimidating or costly project. By following these simple steps, you can achieve a professional-looking finish and give your home’s exterior or interior spaces a much-needed upgrade. Whether it’s your driveway, patio, or garage floor, investing a weekend in DIY concrete resurfacing can deliver results that last for years.
Need professional-grade products or advice to get started? Visit Intermountain Coatings in Murray, UT, or contact us today for all your resurfacing needs. We have the tools, materials, and expertise to set you up for success.